Customization: 1) At the beginning of the script from step 6, we have this section:

Sunday, June 28, 2015

Apple Crisp (For age 15 months+)

0
Stove top Apple Crisp


Imagine, when you walk into your home and you are welcoming with a delicious aroma scent. Mmmm who doesn’t like that? Yes, Cooking is not only about the preparation of food or the eating, or the serving with decoration. It is also about smells, especially the delicious aroma that fills your home while you are cooking certain desserts and that can pull you into it.

Like parents kids also love desserts. But we cannot offer them everything as we eat. We need to substitute healthier ingredients in the mix while we make dessert for kids. When I was thinking of making a healthier dessert for my son, "Apple Crisp" came to my mind. It will fill your home with a delicious smell while cooking and your kids will not leave the kitchen until they get a bowl of apple crisp. So yummy, especially I love the crisp part of this dessert. 

This is stove top version of apple crisp recipe and all you need are few simple ingredients. 

Ingredients (for 3 servings)
Apple- 1, peeled and chopped
Brown Sugar- 1 Tbsp
Butter- 1 Tbsp
Cinnamon- ½ Tsp
Oats- 2 Tbsp
Lemon juice- 1 Tsp
Dry fruits- 1 Tbsp, almonds, pistachios, cashews (crush them in a blender).

Process (Stove top)
Step 1: Peel, core and chop the apple. Sprinkle few drops of lemon to this.

Step 2: Heat a pan over medium heat and add butter. When butter melts saute chopped apples, brown sugar and cinnamon. Mix them well and cook until the apple pieces are softened (sprinkle some water if you need). Transfer them to a serving bowl.

Step 3: For the crisp, melt the butter in the same pan and add dry fruits and oats. Stir them until they turn lightly brown.

Step 4: Sprinkle the crisp on top of the apple in the serving bowl.


Serve it with ice cream or just eat it on its own!

Ingredients for apple serving: Apple, brown sugar and cinnamon

Cook apple with cinnamon and brown sugar until the apples are softened

Fully cooked apple

Ingredients for crisp: Oats, crushed dry fruits and butter

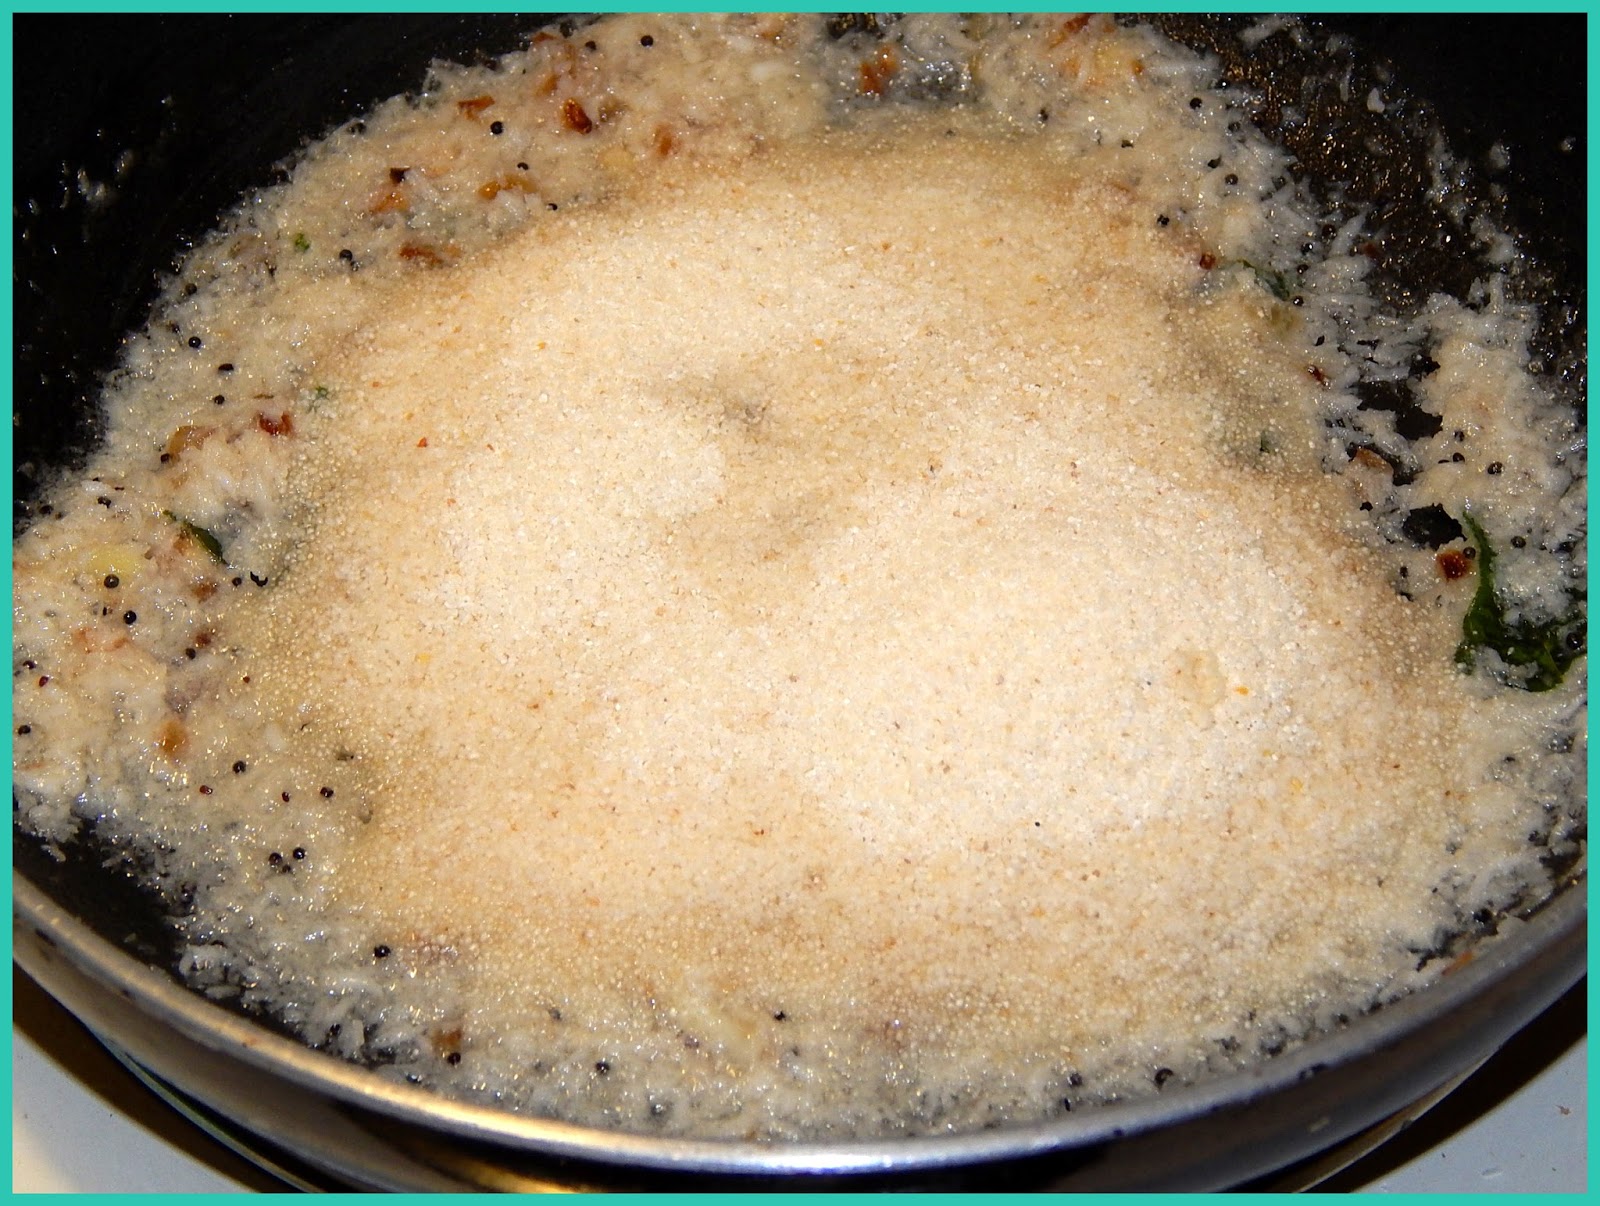
Roast the crisp ingredients until turn brown

Top the apple with crisp. APPLE CRISP is ready to serve

HAPPY COOKING!


Read More »

Saturday, June 20, 2015

A German BreakFast Story

0
Semolina Breakfast (For age 12 months+)

When I was cooking this breakfast for my son, I was thinking about our breakfast time while we were in GermanyThat was the time I compelled myself to learn the art of COOKING!. I had some ideas but did not have much knowledge. Few of my attempts were complete disasters, but slowly things were getting better and better. So, my German Breakfast Story is like this; everyone eats breakfast and it looks different around the world. I never had a breakfast other than our traditional breakfasts, even NO NO to Cereals too. So when I went to Germany, I was searching for the ingredients to make our traditional breakfast. It was not easy, since I could not speak German at that time, oh no may be two words, GUTEN MORGEN and DANKE, Hahaa. In the grocery stores there, mostly all the packages writings were in German. So the pictures of each packages usually hit on my eyes and one day I saw a package with name "couscous" and the picture looked like "semolina". Did not even think twice, I bought it and when I got home, I googled about couscous and realized that couscous is also semolina, but in granules made from crushed durum wheat. I was so happy and the very next day I tried to make my mother’s usual breakfast, Upma with this couscous. It worked, yummy and fulfilled breakfast. Since then, most of the weekends I used to make couscous breakfast. 
When I make this semolina breakfast,I usually make this for whole family. But this time when my son was not taking his usual breakfast I thought of making this in small quantity. You can add any chopped vegetables like green beans, carrot to this, but this time I made it without adding more ingredients, but served with blueberries.

Make this as Father's DAY Special breakfast and enjoy with family!

HAPPY FATHER'S DAY!

Ingredients (For 1 serving)
Semolia/ Rava/ Sooji- 3 Tbsp, roasted
Coconut - 3 Tbsp, shredded
Ginger- small piece, crushed
Shallots or onion- 1 Tbsp
Mustard seed- ¼ Tsp
Coconut oil- 1 Tsp
Curry leaves (optional)
Blueberries- ~10

Process
Step 1: If your semolina is not roasted you need to roast it first. Heat a pan over medium heat and then add semolina. Keep stirring until they look dry and crisp. Transfer it to a plate.

Step 2: Heat coconut oil in the same pan and splutter mustard seeds and add curry leaves, ginger and shallots. Saute until shallots turn transparent.
(If you are adding vegetables add them with shallots)

Step 3: Now add shredded coconut and stir for a minute.

Step 4: Add water (2 OZ) to this mixture.

Step 5: When the water comes to boil add required amount of salt and lower the flame. Add semolina to this mixture and stir immediately.

Step 6: Cover the pan and allow the semolina to steam for 3 minutes (stir in between).

Step 7: I usually make it dry since my son likes it that way, but if you want you can make it slightly soaky.


Delicious healthy semolina breakfast is ready to serve. Top with blueberries.

Ingredients:Semolina, Coconut, ginger, shallots, curry leaves

Heat oil and saute shallots, ginger and curry leaves

Add shredded coconut and mix them well

Add water, salt and make them to boil

Add semolina and mix them well. Cover the pan and cook it.

Semolina breakfast (Upma) is ready to serve!

Happy Cooking!


Read More »

Saturday, June 13, 2015

Pulled Salmon (For age 15 months+)

0
Yes, I haven't posted any fish recipes here in my blog so far. So, here it is, Pulled Salmon. Both kids and family can enjoy this.

For most babies, doctors recommend to wait until 10 months to introduce fish. That is because some of them, particularly shellfish, may cause some allergies. They also say that, babies should eat fruits, veggies, poultry and meat before fish. So it is always better to wait until first birthday to start fish. Fish is a wonderful source of nutrition for your baby. It is packed with lean protein and essential fatty acids (EFA). This includes omega-3 fatty acid, which is important for child’s brain and eye development. Salmon is by far the best source of omega-3 fatty acid, it also has high protein and vitamin D.

Some kids won’t eat salmon, I guess may be salmon has a different fishy (bad way) taste. So it is very tricky to make kids eat salmon. There are few recipes you can try with salmon in a kid friendly way. This is one of them, “Pulled Salmon”. It is a kid friendly version of fish curry, but not spicy. Try this recipe and Enjoy!

Ingredients (For 2 servings)
Salmon- 1 medium size skinless fillet (~100 g)
Coconut milk (medium thick)- 6 OZ
Onion (medium size)- ½ chopped
Ginger- ½ Tsp, chopped
Lemon juice- 1 Tbsp
Coconut oil- 1 Tbsp
Spices (paprika, turmeric powder, coriander powder and pepper), a pinch
Salt, to taste
Curry leaves (optional)

Process
Step 1: Marinate fish with all spices, lemon juice and salt. Keep it aside for 5 minutes.

Step 2: Heat coconut oil in a pot over medium heat. Saute onion and ginger in this coconut oil until they turn lightly brown color.

Step 3: Pour coconut milk to this, mix it well and bring it to boil. Add a pinch of salt.

Step 4: Reduce the flame and add salmon fillet, then cover it with a lid.

Step 5: Cook till the fish fully cooked and the whole coconut gravy thickened, it will take about 15-20 minutes (turn both sides of salmon in between).

Step 6: Bring it to cool and pull the salmon into bite sized shreds with fork. Pulled Salmon, is ready to serve. I usually use the rest thickened gravy for our meal.

Serve it as itself or with rice/ mashed potatoes. You can also make sandwich with this pulled salmon.


Ingredients: Salmon fillet, coconut milk, spices, onion, ginger and curry leaves

Marinate salmon with spices, salt and lemon juice

Saute onion and ginger in coconut oil

Pour coconut milk

Mix well and allow it to boil

Add salmon fillet to the boiling coconut milk mixture

Cook them until the gravy thickens and the fish is fully cooked

Salmon is fully cooked now

Pull the salmon into bite sized shreds

Pulled Salmon is ready to serve

Happy Cooking!


Read More »

Tuesday, June 9, 2015

Make Yogurt at Home

0
Yogurt is a traditional magnificent food. It is simply delicious, highly nutritious and is an excellent source of protein, calcium and potassium. It provides many vitamins and minerals and is low in calories. When I was a kid, my mother used to make yogurt at home, we had yogurt almost everyday. But, I never asked her how to make it? When I started cooking by myself, I realized that, yogurt is one of the main ingredients in our food. So, I took my mother’s recipe and started to make yogurt at home. This recipe isn't complicated at all and you don't need a bunch of ingredients.
Yes, Yogurt makes Yogurt. Yogurt is a cultured milk product that is soured by the action of specific lactic acid producing cultures added to milk. In this method, all you need is yogurt (made with active live cultures) and whole milk. You can purchase a small size plain non flavored yogurt at the grocery store.
Try this easy method to make delicious creamy yogurt at home and save some grocery money too.

Ingredients
Whole milk- ½ Gallon
Plain yogurt- 2 Tbsp

Process
Step 1: Pour milk into a large pot and bring it to boil over a medium-high heat. Keep stirring in between. Once the milk started to boil, bring the heat to low and keep boiling the milk for about 15 more minutes by stirring (milk volume will reduce).

Step 2: Turn the stove off and remove the pot from the stove and let the milk cool down to around 110 degree Fahrenheit (or until it becomes luke warm)

Step 3: Transfer the milk into the container and add 2 Tbsp store bought yogurt and stir well.

Step 4: Cover the container and keep it at room temperature for about 12 hours.

Step 5: Now yogurt is ready (about 3 lbs.). Stir it well and refrigerate.  

Usually kids like medium sour taste yogurt, but if you want sourer yogurt, leave the yogurt for few more hours in warm place.

Yogurt usually stays fresh for almost a week, so better you use the yogurt in a week. You can use this for next yogurt preparation.


Ingredients: Whole milk and Plain yogurt

Boil milk in a large pot over medium-high heat

Keep boiling milk until the volume starts to reduce

Add plain yogurt into the milk

Mix them well and keep it in a container for about 12 hours in room temperature

Yogurt is ready!

Yogurt


Happy Cooking!

Read More »

Friday, June 5, 2015

Yogurt Rice (For age: 12 months+)

0
Yogurt is good for babies. The American Academy of Pediatrics, suggests yogurt as a healthy food for babies as early as 8 months old. I have been giving my son plain yogurt since 8 months and he loves it. I always make fresh yogurt right at home for food preparations. When I started feeding yogurt to my son, I used to serve yogurt alone for the first few days and then started to mix it with his favorite fruits; either pureed or chopped.
This recipe is Mommy’s lazy day treat for little-one. Hahaa, ya if you don’t have time to cook a complete meal for your little-one, this “Yogurt Rice” or "Curd Rice" works great. Easy to make; you just need cooked rice and yogurt.

Ingredients (1 serving)
Cooked rice (I chose parboiled rice) – 3 Tbsp
Yogurt- 1 Tbsp
Salt, to taste

Process
Step 1: Way of cooking the rice
There are so many ways you can cook rice. I usually do the following way.

Soak rice in warm water for 10 minutes. Add this rice to the pressure cooker and fill the cooker 2/3 with water. Close the cooker and lock the lid securely. Set the heat on medium-high. When the steam comes out of the vent pipe, place the regulator on top. Wait for 2 more minutes and turn off the heat (no whistle). Keep it for about half an hour. Then, open the lid (make sure that the pressure has been completely released) and drain the cooked rice by placing it to a strainer. Keep the rice in the strainer for about 10 minutes and the rice is ready!

Step 2:
For starter babies: Grind together cooked rice and yogurt in a food processor. Add salt to taste.

Step 2:
For toddler: Add rice into bowl (Mash and serve bowl) and mash it until you get a smooth consistency. Transfer this rice to the serving bowl and mix it with yogurt. Add salt to taste.

 You can serve it with any curry. I usually serve it with steamed black eyed peas/ Chicken.

Ingredients: Cooked Rice, Yogurt and salt


Mash the cooked rice


Mix mashed rice with yogurt


Yogurt Rice (Curd Rice) is ready to serve!
HAPPY COOKING!


Read More »